>
A couple cups of twelve-year-old sourdough starter, which is named for the date of its spontaneous incarnation…7/99, as in July 1999 (the year that my starter came to life and my marriage fell apart…I’m sure there’s a metaphor here but I’m still too far in denial to recognize it).
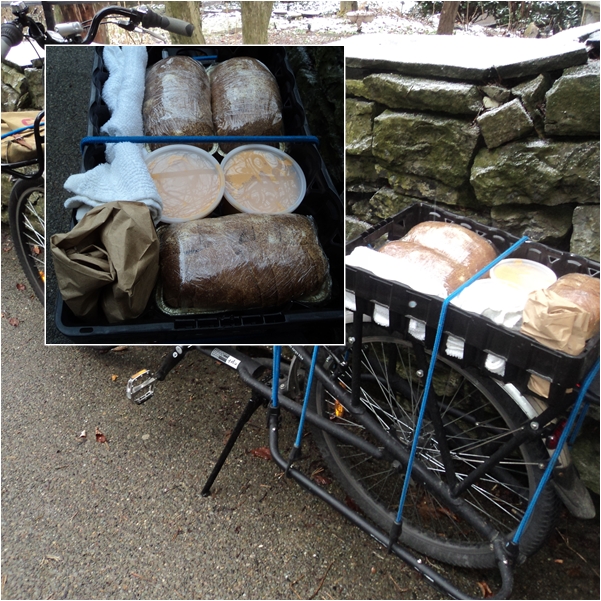
I resurrected the starter a few weeks ago (after it being in hibernation in my fridge for almost a year) and transported some as gifts to a few people at my place of employment. Below is an article I wrote some years ago–skip straight to the recipes if you like, or the entire thing if you find it boring. But if you have never had true naturally leavened bread (meaning without commercial yeast) and are interested in bread baking, I recommend you try it. It is like comparing something that is one-dimensional to three-dimensional…the texture and flavor is multi-layered and unparalleled (the pancakes are pretty good, too).
Hunting For Wild Yeast
(The Original Virtual Pet)
The scientific and historical aspects of foods are, without a doubt, amazing. For example, it’s still possible in the age of faxes, e-mails, beepers and way more television channels necessary, to capture and tame wild yeast. This is a rudimental baking method that has been used since the beginning of civilization (something like Y negative 3k, to put it into today’s terms) “Taming” the yeast can actually be a little misleading, it’s more like controlling it. Yeast is a living organism, and while there may be numerous varieties, it can be divided into two categories: wild and domesticated, or more specifically, naturally occurring yeast that is present in the very air we breath, and store-bought prepackaged yeast.
To make a fine loaf of bread using commercially-made yeast can take as little as 3 hours from start to finish; to make an extraordinary loaf leavened with naturally occurring yeast (a sourdough starter) can take up to twelve hours, or even a week if you include preparing the starter. Why then, some may ask, would someone go through the trouble of utilizing wild yeast? The answer is simple: the flavor and texture of a slowly risen, naturally leavened loaf of bread is incomparable to that of the former. It has character and substance; it is something to behold.
Working with domesticated yeast is almost foolproof and your breads are sure to rise, so long as the yeast is used within the given date listed on the package and not exposed to adverse conditions. Working with the natural leavening of sourdough, on the other hand, may be a little tricky at first, like entering uncharted territory. There are no dates on the package, sourdough is alive and it’s up to you to keep it such. Often the first time one attempts a sourdough it works fine, but sometimes it doesn’t. In the past decade or so that I have experimented with various sourdoughs I have baked everything from light crusty loaves that were so beautiful and aromatic that I was in awe and didn’t even want to cut them, to sodden heavy loaves that, with a little mortar, could have built a house. Such is life, right?
There are as many recipes for sourdough as there are the people who make them, and when attempting your own you may receive more advice than is actually useful (start it in a wooden bowl, add grape skins, use potato water, store it on a radiator, import water from San Francisco or Alaska, blah, blah, etc.). In truth, while many of these suggestions may be helpful, they often overcomplicate things. In this author’s opinion, the most difficult aspect of sourdough making is the waiting—many things in life can be rushed, but sourdough is not one of them. To create a starter one merely has to mix together flour and water and allow it to rest for a few days and begin to ferment and attract the illusive wild yeast. This method (flour and water), after all, is most likely how sourdough was accidentally discovered in Ancient Egypt more than 5000 years ago—it was the first leavened bread. Since then this method of breadmaking has been used, virtually, in almost every culture and civilization around the globe. Commercially made yeast has only been available since the middle of the last century. Prior, if you desired your bread to be leavened it was done naturally, with a fermented starter.
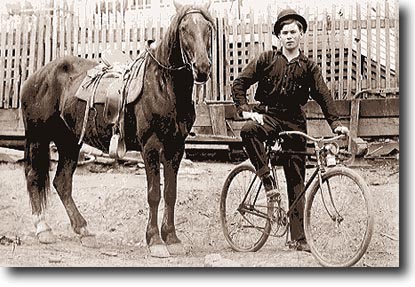
Though sourdough in America is most often associated with San Francisco and Alaska, it is prevalent throughout our nation. Interestingly, it is said that there were bubbling crocks of starter with Columbus and his crew aboard their ships when they happened upon this continent (possibly America’s first sourdough). But it wasn’t until the California gold rush of 1849 that sourdough first became a culinary legend in America. At that time yeast was being produced commercially but provisions were scarce in the Wild West, so the chuckwagon cooks had to revert to the ancient method of sourdough baking. Sourdough was used to leaven everything from bread and muffins to waffles, pancakes and even cakes. Before long sourdough, along with gold seekers, made its way to the Alaskan Yukon. There, the prospectors became so associated with the dough that they themselves were commonly referred to as “Sourdoughs”. These prospectors were even known to take their starters to bed with them, to keep the yeast warm so it was active for breakfast preparations.
To care for your starter, as with any pet, you have to supply food and an appropriate environment. To feed your starter simply use a portion of the starter and replace it with an equal amount of fresh flour and water, this will give the yeast more sugar and gluten to consume. If you are inclined to bake every day, or every other day, store it at room temperature so it will always be active; room temperature starters need to be fed a minimum of every twelve hours, lest the yeast consumes all of the available food and perishes. If you don’t bake on a daily basis refrigerate your starter and feed it once or twice a week (you may have to actually dump some of your starter down the drain, unless you want it to keep expanding to mammoth proportions). By refrigerating your starter the souring process will be retarded and the yeast will become somewhat dormant. A starter must be brought to room temperature in order for it to become active again.
When attempting a new starter use the least processed flours you can purchase, such as organic unbleached or whole wheat, there are plenty varieties readily available. Also use wholesome water, such as bottled spring water; the chlorine in tap water will definitely be the demise to any newly “planted” yeast. And above all be patient, if it doesn’t work the first time try it again. Remember, you may be able to control the yeast once it has planted itself, but in the first stages you are at the will of nature.
Sourdough Starter
Unbleached all-purpose flour (the least processed brand available)
Whole wheat flour (same as above)
Spring water
In a glass bowl, combine 1 cup of unbleached all-purpose flour and 1/2 cup whole wheat flour with 1-1/4 cups spring water. Mix thoroughly and cover the bowl with cheesecloth, secure the cheesecloth with string or a rubber band. Allow this mixture to sit at room temperature for 48 hours, then stir in an additional 1/2 cup all-purpose flour, 1/2 cup whole wheat flour and 3/4 cup spring water. Replace the cheesecloth and allow the starter to sit for and additional 48-72 hours. If after 4-5 days there is no sign of yeast activity, grayish-black liquid appears on the surface, or the starter develops an unsavory aroma, discard it and begin again (remember that it will smell somewhat sour when active, this should not be confused with spoilage). Once the starter is active it will need to be fed every twelve hours (or much less if refrigerated). Simply use a portion (give a portion away, or at the very least empty some down the drain) and replenish it with fresh water and flour. After an additional 3 or 4 days of feeding, the starter should be active enough to use in any recipe calling for such.
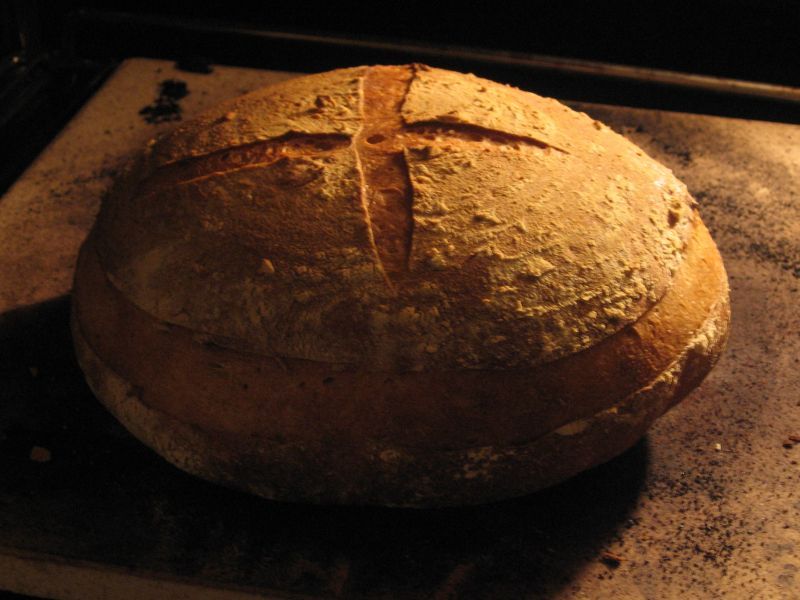
Sourdough Bread
Yield: 1 loaf
2 cups sourdough starter (room temperature and visibly active)
2 tablespoons honey
1 tablespoon olive oil
1 teaspoon sea salt
1/2 cup whole wheat flour
1-1/2 cups all-purpose flour (approximately)
In a medium bowl, combine the starter, honey, oil and salt; mix thoroughly. Stir in the whole wheat flour and 1-1/4 cups of the all purpose flour; mix the dough until it is thick enough to handle, then turn it out onto a work surface. Begin to knead the dough, and if it seems too moist work in the remaining 1/4 cup flour. Knead the dough for 10 minutes. Place the kneaded dough in a lightly oiled loaf pan, or shape into a ball and set on a baking sheet that has been lightly dusted with cornmeal. Cover the dough with plastic wrap or a lightly floured cloth and let rest until almost doubled in bulk (depending on the strength of your starter this may take anywhere from 3 to 6 hours). Preheat an oven to 375 degrees Fahrenheit. Bake the bread in the preheated oven for 30-40 minutes, or until the crust is dark brown and the loaf sounds hollow when the bottom is lightly tapped. Cool the bread on a wire rack for at least 15 minutes before slicing.
Sourdough Pancakes
Yield: 30 (3-inch) pancakes
2 cups sourdough starter (room temperature and visibly active)
2 tablespoons sugar
2 tablespoons vegetable oil
1 large egg
1/2 teaspoon baking soda
1/4 teaspoon salt
1/4 cup all-purpose flour (approximately)
Combine all of the ingredients in a medium bowl and mix until thoroughly combined. Cook the pancakes in a lightly buttered skillet until fluffy and lightly browned on both sides. Serve with fresh fruit and maple syrup.