>
Noah carried the slabs of meat into the kitchen and cut it into small salting blocks, and Ma patted the course salt in, laid it piece by piece in the kegs, careful that no two pieces touched each other. She laid the slabs like bricks, and pounded salt in the spaces.
–John Steinbeck, The Grapes of Wrath
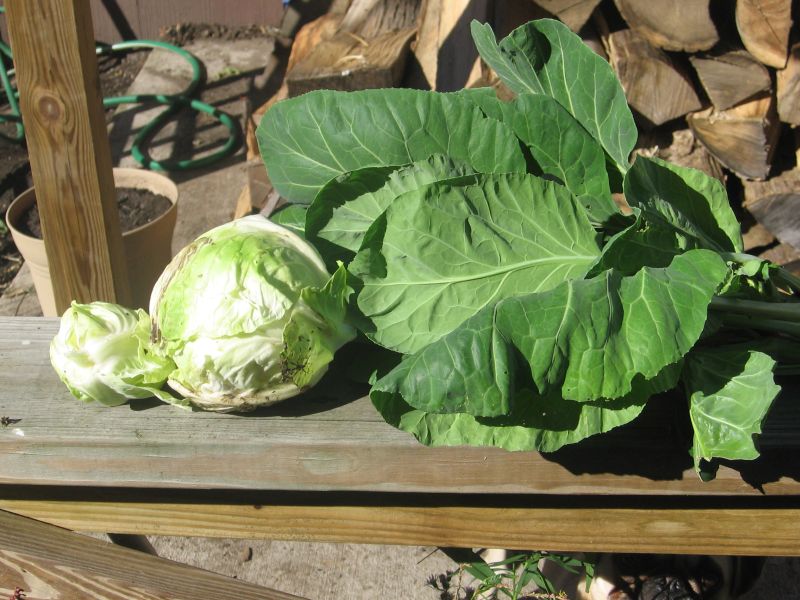
The other day I was rummaging around in the crisper drawer of my refrigerator and what I found was anything but crisp. About a month ago I had purchased two heads of cabbage and I used most of it to make kim chi (Korean-style sauerkraut), which sits quie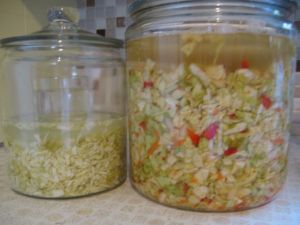 tly bubbling on my counter as I type these words. The remainder (about 1/3 head) I put in the crisper drawer for future use, possibly a stir-fry or soup. At any rate, by the time that I found the forgotten cabbage a thin layer of grey mold was covering much of the surface of one side. My first reaction was to be slightly grossed out, but then it dawned on me: this wedge of cabbage left in refrigeration began to mold, but the other cabbage, mixed with a bit of salt and other seasonings, was left at room temperature, and the salt and its own juices preserved it. Both were fermenting in their own way, but one had turned into something truly delectable while the other was headed to the garbage can. It was an unintentional science experiment.
Salting is just one way of preserving foods. Today, of course, the most obvious method is to freeze things. This works well, and it’s simple to do, but it’s the old ways of preservation that I find most interesting. When food is frozen then thawed it’s just that, but when aged, via fermentation, the flavors are alive and intense. When food is preserved the old fashioned way it’s not just cooking, it’s more like alchemy…the simplest ingredients when left to dry, ferment, or brine become something entirely different. The most obvious example is sauerkraut or pickles; the difference from the raw to the preserved is remarkable, and there’s little effort on the cook. Put the ingredients together and they do most the work, you just have to provide the right conditions.
In his book, Wild Fermentation, Sandor Katz (aka Sandor Kraut) states that any food may be fermented. While this may seem a bit of a stretch, when’s the last time you had a sandwich or salad at a fancy restaurant and ate prosciutto or gravlox. In both cases, neither the ham nor the salmon was “cooked,” it was preserved by being packed in salt. Remember this, too, the next time you have a salami sandwich or bagel with lox (neither are cooked; both are dried).
While it may be daunting to cure your own ham in the basement or smoke fish in the backyard (but it is possible), it is not only feasible but quite simple to preserve your own fruits and vegetables. Canning is the most obvious example, but that’s not the intention of this article. The recipes included here are those that can be made simply on your kitchen counter and left to age in the refrigerator.
As mentioned previously, the main things you as the cook have to provide are the correct conditions. Foods are affected by these conditions in different ways. In the case of salted vegetables, such as sauerkraut or kim chi, the combination of the high saline solution and being submerged in it’s own juice inhibits the grown of harmful bacteria but provides the right conditions for “good bacteria,” mainly, Lactobacilli, which is the same bacteria found in yogurt and kefir. The growth of Lactobacilli, a probiotic, is the reason fermented foods taste distinctively sour, thus cabbage is no longer simply cabbage (kraut) it has, almost by itself, become sour cabbage (sauerkraut). Homemade (or high quality store-bought) sauerkraut and yogurt taste alive on your tongue, and they are. Fermented vegetables have the ability to last long periods without “going bad,” which was their original intention. It was common practice in days gone by for seaman anticipating a long voyage to carry barrels of fermented cabbage with their provisions to alleviate scurvy. Well-known practitioners of this were supposedly Columbus and James Cook. And closer to home, given our city’s original demographics I’ll wager a bet that more than a few of our old homes have seen their share of bubbling crocks of kraut brought to fruition by our ancestors.
Interestingly, the people of Bulgaria consume per capita more fermented milk products in the world (mainly kefir) than anywhere else and they also have some of the longest life spans. Because of this the lacto acid bacteria that is produced specifically in fermented milk (yogurt and kefir) has, since the beginning of the 2oth century, been named Lactobacillus bulgaricus. Apparently fermented foods really are good for you.
High concentrations of sugar or vinegar (or both) also inhibit the growth of many harmful bacteria; such is the case of fruit preserves and vegetable pickles. Lowering a food’s moisture content will reduce the chance of mold. Foods such as sundried tomatoes are a popular option of this, but simmering foods down to “butters” is an old fashioned method as well. Not only does the lower moisture and higher sugar content reduce the risk of contamination, but it makes the fruit spreadable (hence the use of the word butter) and heightens it’s flavor as well.
Preserved or fermented foods, like good homemade bread (which is essentially fermented flour, albeit cooked) is making a resurgence of sorts. It’s the original comfort food; our parents and our parent’s parents really did know a thing or two. In this age of everything being hyper-fast, it’s really refreshing to prepare foods slowly, sometimes really slowly. This column will be whisked to the editor’s office via the internet. I can’t see it go, it just does. On my counter is a batch of sauerkraut and ten-year-old sourdough starter, and with them I can engage all of my senses. I can see them, smell them, feel them, taste them, and if I listen closely enough, I can even hear them bubbling. But taste is the best part.
Old Fashioned Apple Butter
Yield: 2 cups
6-7 large apples
1-1/4 cups brown sugar
1/2 cup water
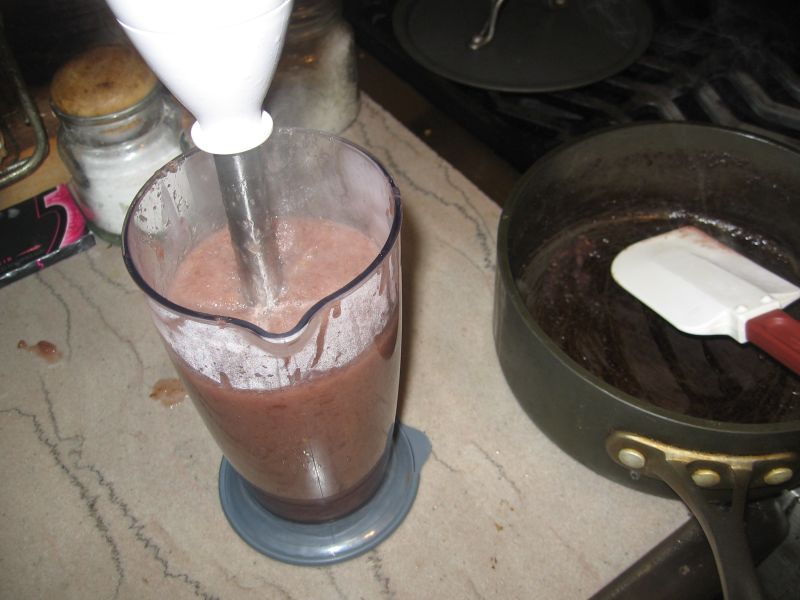
Peel, core, and quarter the apples; discard the peels and cores. Combine the apple in a heavy-bottomed pot. Cover the pot and bring the to a simmer and cook for about 10 minutes. Transfer to a blender and process until smooth. Transfer back to the same pot. Cook the apple purée over a low flame for 1 hour, or until it has reduced and become dark and the consistency of peanut butter. Stir often to avoid scorching. Transfer to a clean jar and refrigerate.
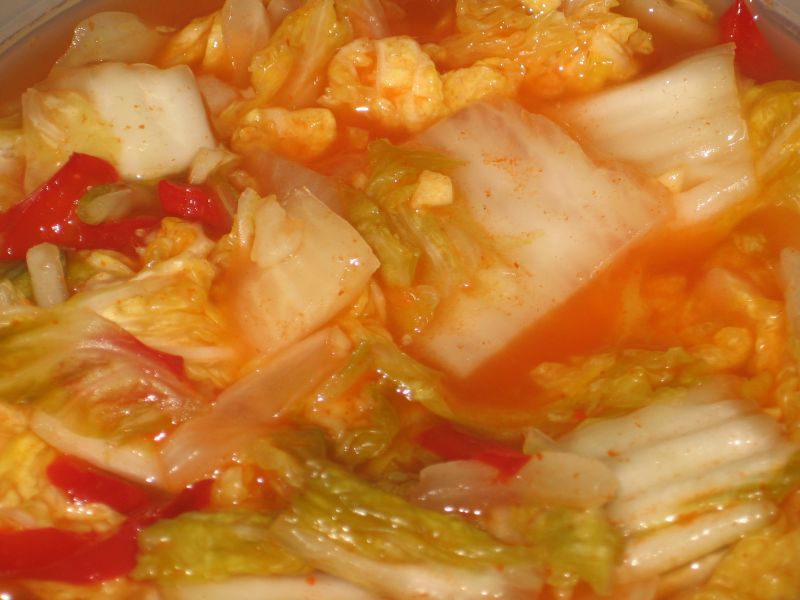
Kim Chi
(Korean-Style Sauerkraut)
1 head Napa cabbage, cut into two-inch pieces
1 small daikon, grated
2 tablespoons kosher salt
2 cloves garlic, minced
1 small piece ginger, minced
1 small onion, minced
2 tablespoons chili paste
1 tablespoon sugar
Mix all of the ingredients together in a large bowl. Transfer to a container that is wide enough to fit a few small plates inside it. Press the cabbage down and weight it with plates. Cover the container and leave at room temperature. After a day it should release enough liquid that it is submerged, if not, add a little salted water. After about 2 days small bubbles will appear, after about a week or so it will smell and taste distinctively sour. Taste it as often as you like and when the flavor is to your liking transfer the container to the refrigerator to slow its fermentation.
German-Style Sauerkraut
1 small head of cabbage
2 tablespoons kosher salt
Remove the outer leaves of the cabbage and cut the head in half and then quarters. Cut out the core and discard it. Slice the cabbage as thin as you are able and put it in a large bowl. Sprinkle with two or three tablespoons salt and mix. Taste the cabbage; it should taste salty but not overly so. Transfer the cabbage to a container that is wide enough to fit a few small plates. Press the cabbage down with your hands and weight it with plates. Cover the container and leave at room temperature. After a day the cabbage should have released enough of its own liquid that it is submerged, if not, add enough salted water to cover the cabbage. After 2 or 3 days small bubbles will appear, after about a week or so it will begin to smell and taste distinctively sour. Depending on the temperature of your kitchen the cabbage will take between one and three weeks to sour completely. Taste it as often as you like and when the flavor is to your liking transfer the container to the refrigerator to slow its fermentation.
Gravlox
(Preserved Salmon)
Yield: 12 servings
3 pounds boneless salmon
1/4 cup vodka
1/4 cup kosher salt
1/4 cup sugar
2 tablespoons cracked black pepper
2 bunches fresh dill, chopped
1/2 small onion, peeled and sliced thin
1/2 lemon, sliced thin
Cut the salmon crosswise into two pieces; lay the salmon skin side down in a shallow pan parallel with each other. Pour the vodka across the salmon, and then sprinkle the salt, sugar, and pepper. Spread the dill across one piece of the salmon and the onions across the other piece. Layer the sliced lemon on top of the dill, then carefully roll one piece of salmon onto the other piece, enclosing the seasonings within the two pieces. (The skin should be facing out on both pieces.) Carefully lift the salmon onto a piece of cheesecloth and wrap it securely. Place the gravlox back into the shallow pan with another shallow pan of equal size on top of the salmon. Weight the gravlox by placing canned or bottled foods in the empty pan on top of the fish. Refrigerate the gravlox for 72 hours, turning it every twelve hours. To serve the gravlox, remove the fish from the cheesecloth and gently scrape away the spices, dill, onions and lemon. Slice the salmon paper-thin, on the bias, and serve with cucumber and small slices of toasted bread.
Homemade Yogurt
Yield: 1 quart
1 quart whole milk
3 tablespoons starter (plain yogurt with active cultures)
Bring the milk to a boil, then remove from the heat and allow to cool to 115F. Dilute the starter with 1/2 cup of the warm milk in a glass or ceramic bowl,. Stir in the remaining milk and cover securely with cellophane. Wrap the bowl twice with a heavy cloth and set in a warm draft-free area. Let stand for 4-5 hours. Refrigerate the yogurt before serving.
Labna
(Middle Eastern Yogurt Cheese)
Line a large colander with cheesecloth. Pour in yogurt pull the ends of the cheesecloth together to form a pouch. Tie the pouch securely and hang over your sink or a large bowl. Allow to drain for 4-24 hours. The yogurt will drain and become the consistency of soft cream cheese.
Pickled Carrot Sticks
4 carrots, peeled and cut into sticks
1 1/4 cups water
1 cup cider vinegar
1/2 cup sugar
2 garlic cloves, crushed
1 bunch dill
1 tablespoon salt
Place the carrots in a heatproof bowl. Bring the remaining ingredients to a boil in saucepan, then reduce the heat and simmer 2 minutes. Pour the pickling liquid over the carrots. Refrigerate for future use.
Zucchini Pickles
1 pound zucchini, sliced thinly
1 small onion, peeled and sliced thinly
2 tablespoons kosher salt
2 cups cider vinegar
1 cup sugar
1 1/2 teaspoons dry mustard
1 1/2 teaspoons mustard seeds
1 teaspoon turmeric
Place the zucchini and onions in a large bowl, add the salt and toss to distribute. Combine the vinegar, sugar, dry mustard, mustard seeds, and turmeric in a small saucepan and simmer for 3 minutes. Set aside until just warm to the touch, then pour the brine over the zucchini. Refrigerate until further use.
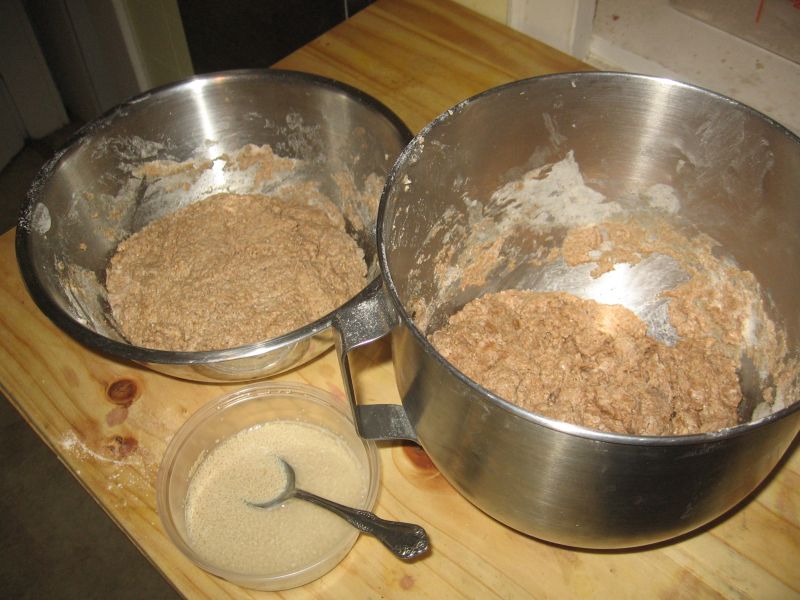
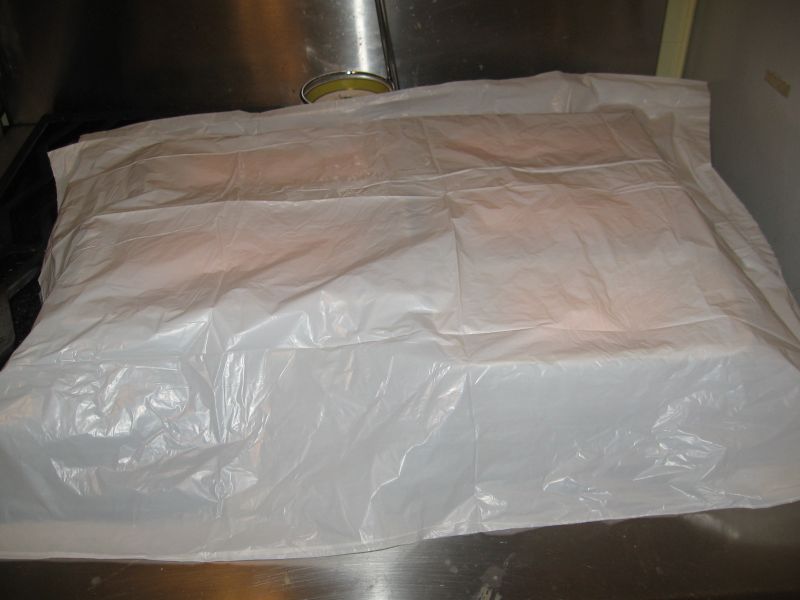
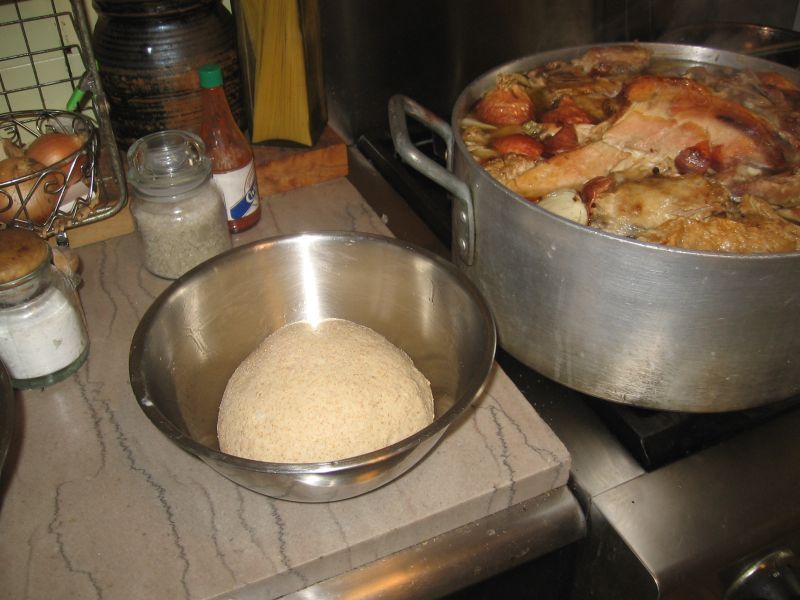
 After they had risen, I cut each dough into 5 pieces, ten pieces in all.
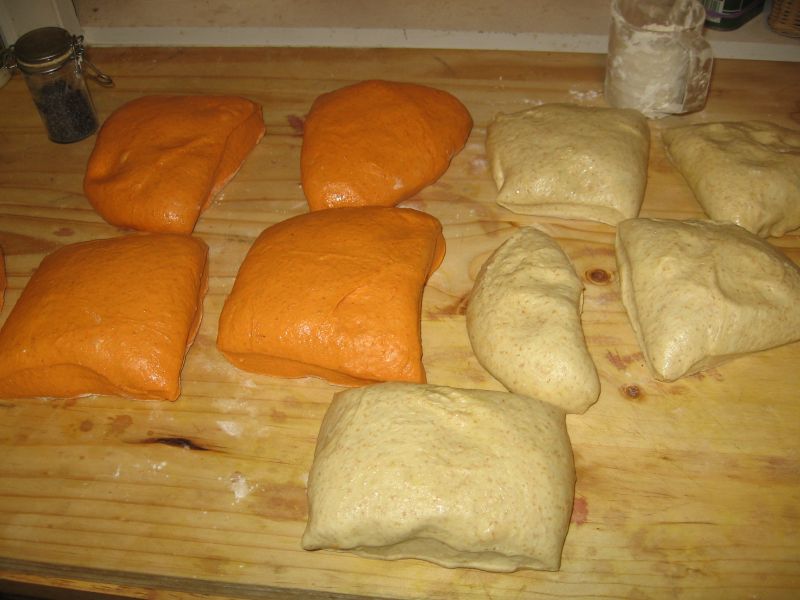 After gently flattening each piece, I placed a piece of Parmesan dough on top of each piece of red pepper dough and gently rolled it into a loaf.


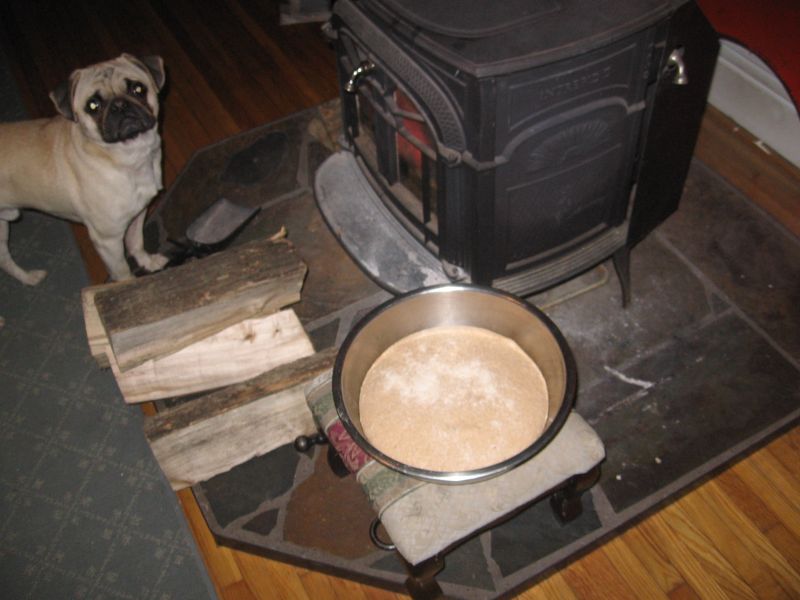
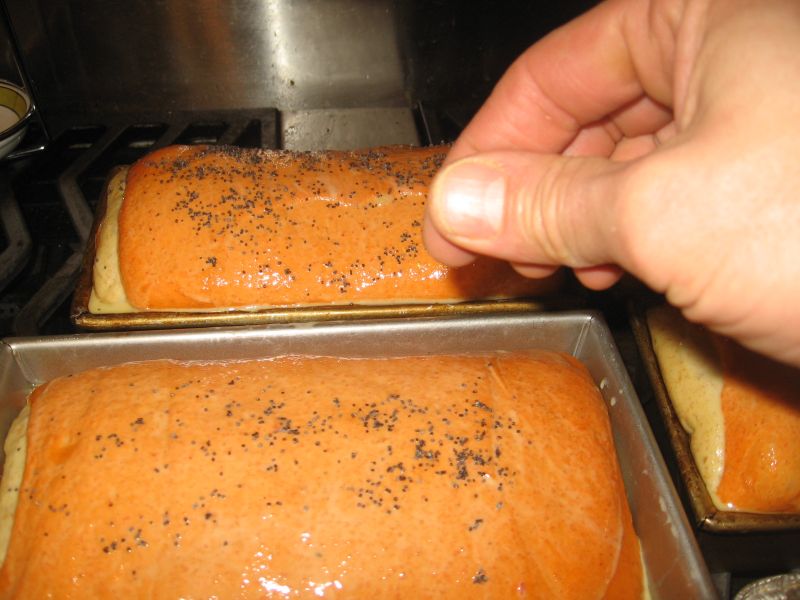
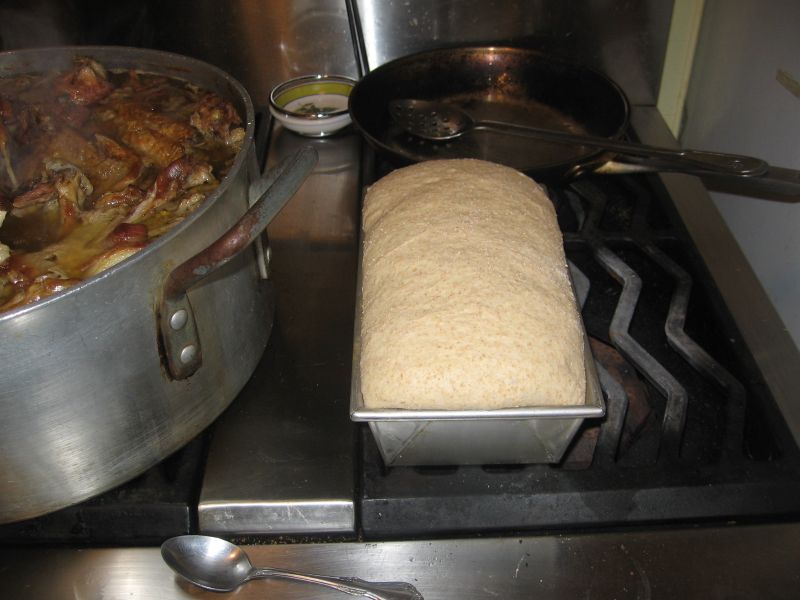
 After they rose, I brushed them with an egg wash, sprinkled them with poppy seeds and baked them in a preheated 400F oven.
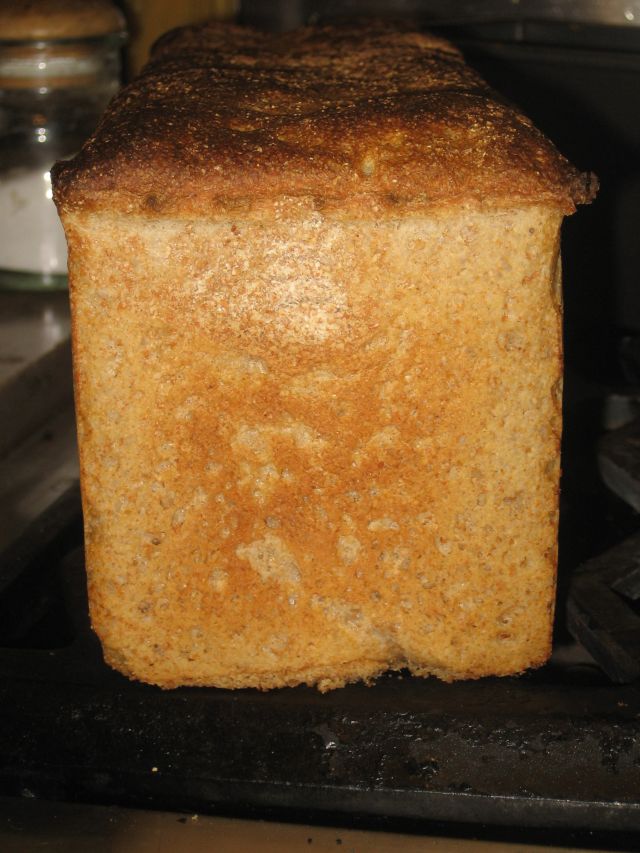
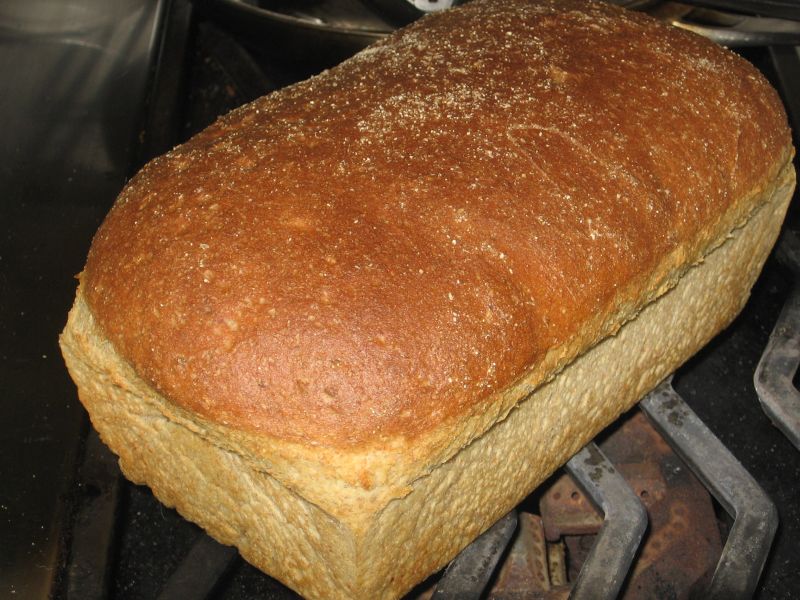
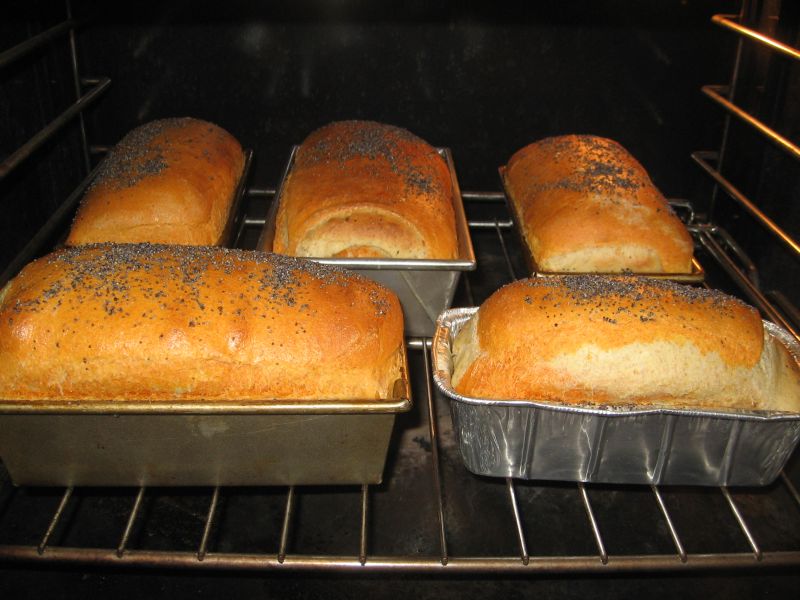 The finished bread:

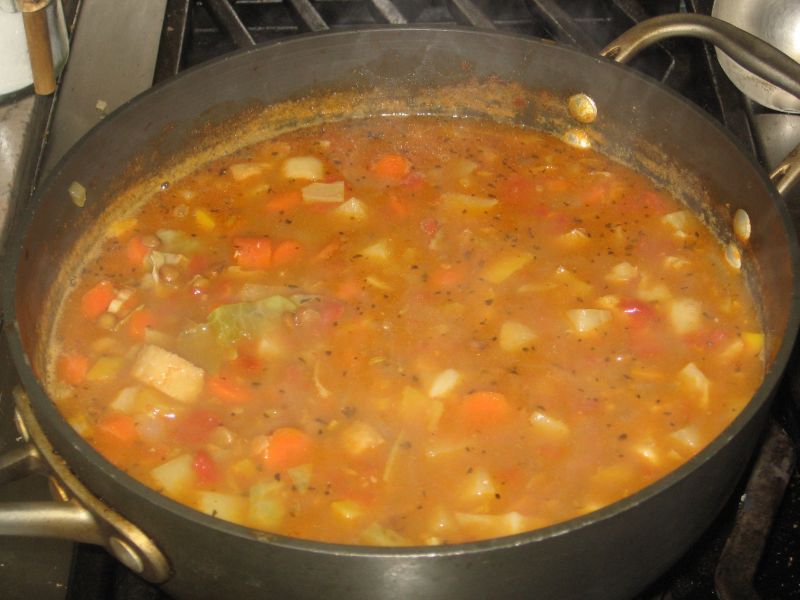
 Anyhow, homemade broth is as simple as this: put the carcass(es) in a pot with any meat trimmings, scraps, juices, a few vegetables, and just enough cold water to cover it. Bring it to a boil, then lower it to a simmer. Simmer the broth for 2-6 hours, skimming any scum as necessary.
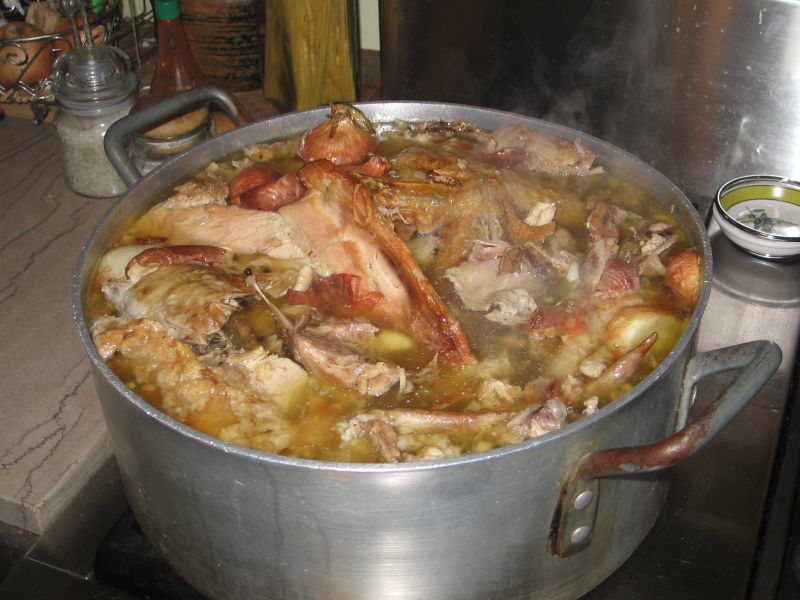

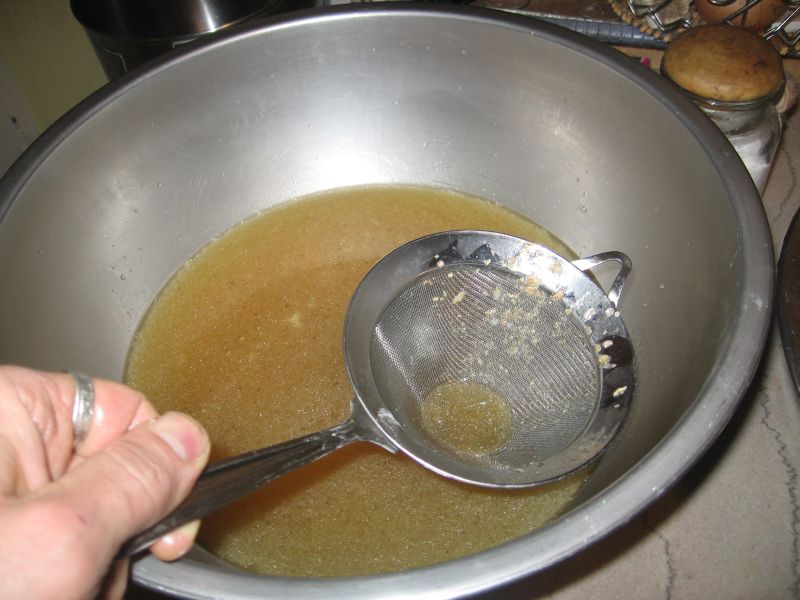
 After the stock had simmered for about 6 hours I strained it twice, first through a colander, then through a small fine mesh strainer; a china cap, or as the French refer to it, a chinoise
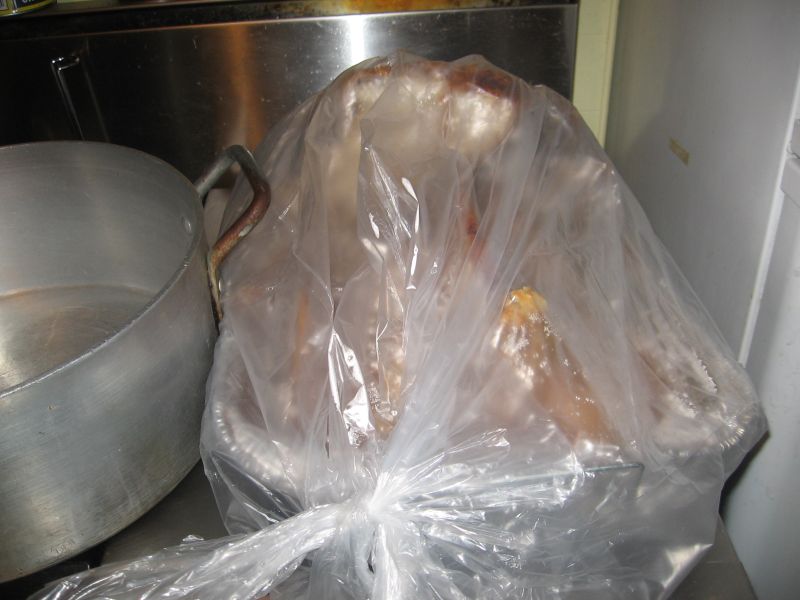
 Freezer ready: